

Personal safety devices for college students are tools designed to deter threats, alert trusted contacts, and track location during an emergency. The best choice depends on your campus environment, budget, and daily routine, but the most effective approach combines a physical device with a digital alert system so you get both immediate local deterrence and remote notification.
Key Takeaways
- Personal safety devices for college students fall into four core categories: wearable panic buttons, smartphone-based safety apps, smart self-defense tools, and location-sharing accessories.
- The most effective safety strategy combines a physical device with a digital alert system, ensuring both immediate local deterrence and remote notification to trusted contacts or campus security.
- Battery life, ease of access, and integration with existing campus infrastructure (like emergency call boxes or security apps) outweigh raw features when selecting a device.
- Budget-conscious students should prioritize a single multi-function device (e.g., a smart whistle that also sends GPS alerts) over buying multiple single-purpose gadgets.
- No device replaces situational awareness; any safety plan must emphasize that technology is a supplement to, not a substitute for, proactive safety habits.
Quick Answer: The best personal safety devices for college students are wearable panic buttons, smartphone safety apps, smart self-defense tools, and GPS trackers. A layered approach that combines a physical alarm with a digital alert system is the most effective strategy.
The Complete Answer: What Are the Best Personal Safety Devices for College Students?
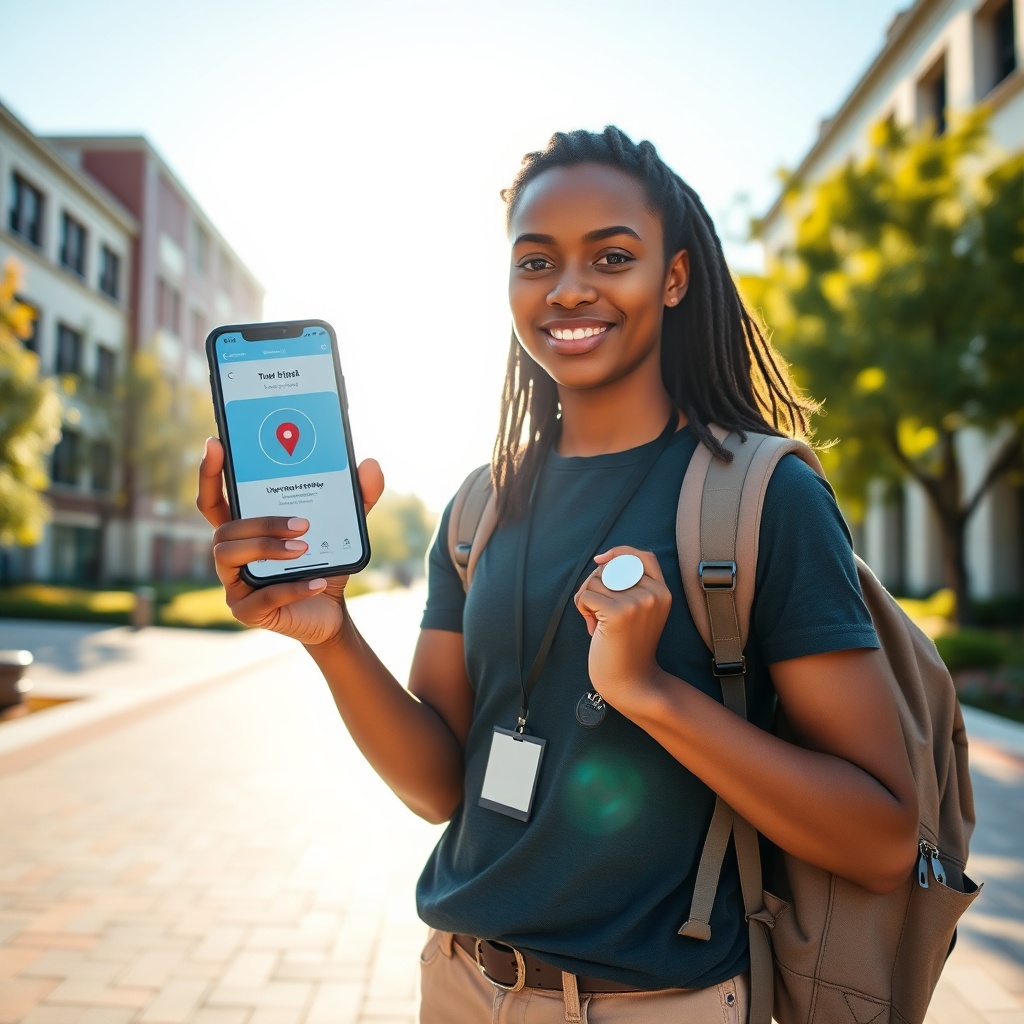
Visual representation of combining physical and digital safety tools for student protection.
Defining the Core Categories
Personal safety devices for college students generally fall into four groups, each serving a different purpose:
- Wearable panic buttons — Keychain alarms, pendant triggers, and wristband devices that produce a loud sound or send an alert when activated. These are designed for immediate access during a physical encounter.
- Smartphone safety apps — Applications that offer walk-with-me tracking, SOS texting, and real-time location sharing with trusted contacts. They turn the phone you already carry into a safety tool.
- Smart self-defense tools — Items like stun guns with GPS or pepper spray with alert functions that combine physical deterrence with digital notification. Legal restrictions vary significantly by state and campus.
- Location-sharing accessories — Bluetooth tags and GPS trackers that attach to bags, keychains, or clothing. They enable passive monitoring by trusted contacts.
Definition: A wearable panic button is a small, portable device that, when activated, emits a loud alarm and/or sends a distress signal with your location to pre-configured contacts.
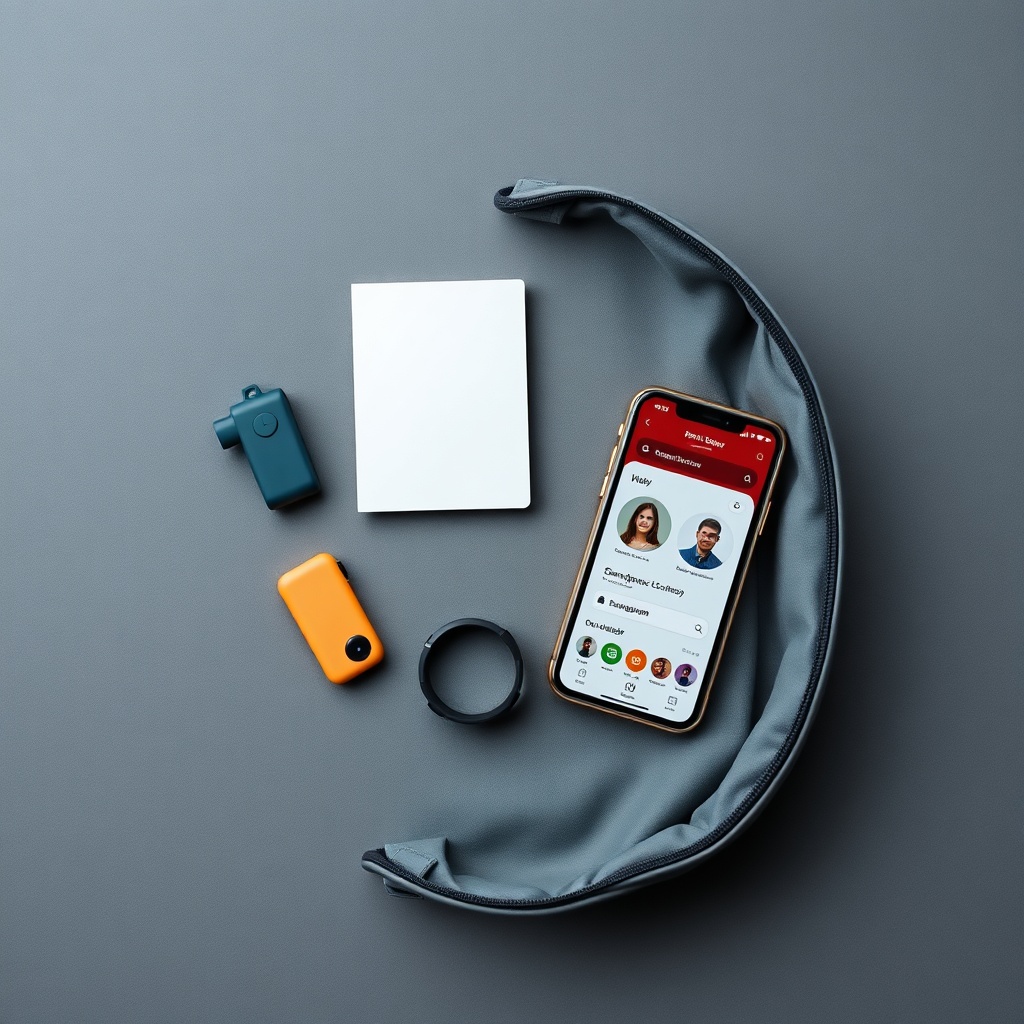
Curated selection of everyday carry safety tools emphasizing functionality and easy access for campus life.
How to Choose Based on Campus Environment
Your campus layout and schedule should drive your decision. Students on urban campuses often face different risks than those in rural settings, and your late-night study habits matter too.
- Urban vs. rural campus: Urban campuses typically have more foot traffic and faster police response, but also more crowded public spaces. Rural campuses may have longer response times, making a device with direct emergency dispatch more valuable.
- Late-night patterns: If you regularly walk across campus after dark or study in the library until closing, prioritize devices with long battery life and one-touch activation. A device buried in your bag is useless if you cannot reach it quickly.
- Existing campus infrastructure: Check what your school already provides. Many campuses have blue light emergency phones, escort services, and security apps. A device that complements these resources is more useful than one that duplicates them.
The Decision Framework: What Actually Matters
When comparing options, focus on these four factors rather than marketing features:
- Activation speed: One-touch activation is critical. Multi-step processes that require opening an app or navigating menus fail in high-stress situations.
- Notification reach: Determine who receives your alert. Options include campus police, local 911, or friends and family. The best setup often includes both campus security and a personal contact.
- False alarm management: Devices that trigger accidentally undermine trust in the system. Look for features like confirm-before-send or test modes that let you practice without causing a real alert.
- Legal restrictions: Some devices, particularly stun guns and pepper spray, are prohibited on certain campuses or in certain states. Always verify your university’s code of conduct and your state’s laws before purchasing.
Section 1: The Psychology of Safety — Why Devices Alone Fail
The “Illusion of Control” Trap
Carrying a safety device can create a false sense of security. Students who feel protected by a gadget may take riskier actions, such as walking alone at night more often or taking shortcuts through poorly lit areas. This phenomenon, known as risk compensation, means the device itself can inadvertently increase exposure to danger. Focusing on Empowering Yourself: The Use of Non-Lethal Self-Defense Techniques online ensures you build habits that complement your physical security measures.
The solution is to pair device use with campus safety protocols. Continue to use campus escort services, stick to well-lit routes, and walk with friends when possible. A device should be your backup plan, not your primary strategy.
Building a Personal Safety Protocol Around Your Device
A device only works if you are prepared to use it. Establish a simple protocol:
- Pre-set emergency contacts and geofenced alerts: Configure your device or app to automatically notify trusted contacts when you enter or leave specific areas, such as your dorm or the library.
- Practice activation drills: Muscle memory matters. Periodically practice reaching for and activating your device so the motion becomes automatic.
- Regular device checks: Check battery levels weekly, update firmware when prompted, and review app permissions each semester.
Quick Answer: Safety devices do not replace situational awareness. They are most effective when paired with campus safety protocols like escort services, well-lit routes, and walking with companions.
Section 2: Wearable Panic Buttons and Smart Alarms — Immediate Deterrence
Keychain Alarms vs. Wristband Triggers
Wearable panic buttons come in two primary form factors, each with distinct trade-offs. Consider Hidden Protection: Safety Devices Disguised as Everyday Items online when selecting between keychain alarms and wristband triggers.
- Keychain alarms: These attach to your keys or backpack and typically activate via a pull-pin or button press. They are highly portable and easy to find, but may not be accessible if your hands are occupied or if the device is buried in a bag.
- Wristband triggers: Worn on the wrist, these devices are always accessible, even when your hands are full. They are more discreet but may be less noticeable as a deterrent to a potential attacker.
The key consideration is whether you prioritize discreetness or accessibility. If you frequently walk with books, coffee, or a phone in hand, a wristband trigger may be more practical. If you prefer a device that is visibly a safety tool, a keychain alarm offers stronger deterrence.
Integration with Campus Security Systems
Some wearable devices connect directly to campus dispatch systems, sending your location and identity to campus police when activated. Others rely on Bluetooth proximity to a paired phone, which then sends the alert. The latter approach is more common and works with most smartphones, but it depends on your phone having battery and a data connection.
Before purchasing, check whether your campus offers a compatible security app or if the device can integrate with your university’s emergency response system.
Step-by-Step: How to Set Up and Test a Wearable Panic Button
- Charge the device fully and update its firmware.
- Pair it with your smartphone via the manufacturer’s app.
- Configure emergency contacts and the primary alert recipient (e.g., campus police).
- Set a geofence around your dorm or frequent study spots for automatic check-in.
- Perform a silent test (without triggering the loud alarm) to confirm the alert reaches your contacts.
- Schedule a monthly battery check and re-test.
Section 3: Smartphone Safety Apps — The Digital Backbone
Comparing Standalone Apps vs. Built-in Phone Features
Both Apple and Android offer built-in safety features that are free and require no additional download. Apple’s Check In automatically notifies a chosen contact when you arrive at a destination, while Android’s Safety Check does something similar. Readers interested in and Joggers often prioritize lightweight, always-accessible deterrents during their routines. These features are reliable and private, but they lack the advanced functionality of dedicated safety apps.
Dedicated safety apps often offer additional features such as:
- Holding a button to trigger an alert that sends your live location to emergency contacts
- Automatic fall detection or motion-triggered alerts
- Integration with smartwatches and wearable devices
The trade-offs include privacy permissions, subscription costs, and reliability in areas with poor cellular coverage. Some apps require a monthly fee for full functionality, while others are free but collect location data.
What to Look for in a Safety App
When evaluating any safety app, consider these features:
- Real-time location sharing with a trusted circle: The app should let you share your location with multiple contacts for a set time window.
- Fall detection or motion-triggered alerts: Some apps automatically detect a sudden fall or lack of movement and send an alert if you do not respond.
- Integration with wearable devices and smartwatches: This allows you to trigger an alert from your wrist without reaching for your phone.
Comparison Table: Key Features Across App Categories
| Feature | Built-in OS Tools | Dedicated Safety Apps | Campus-Provided Apps |
|---|---|---|---|
| Cost | Free | Often freemium | Usually free for students |
| Location sharing | Limited to contacts | Advanced with live tracking | Campus-specific zones |
| Emergency dispatch | Manual 911 call | Automatic with subscription | Direct to campus police |
| Offline capability | Varies | Varies | Varies |
| Data privacy | Controlled by OS | Requires careful review | Administered by university |
Section 4: Smart Self-Defense Tools — Legal and Practical Realities
Stun Guns, Pepper Spray, and Personal Alarms with Self-Defense
Some students prefer devices that offer physical deterrence in addition to alerting. Stun guns and pepper spray are the most common options, but they come with significant legal and practical caveats. Evaluating Stun Guns vs. Pepper Spray: Choosing the Right Self-Defense Tool products helps clarify which option aligns with local regulations.
There is no universal rule governing these devices. Many campuses prohibit weapons, including stun guns and pepper spray, in their code of conduct. State laws also vary, with some states restricting possession entirely. Always verify both your university’s policies and your state’s statutes before purchasing.
Beyond legality, these devices require training. You must practice drawing and using them so you can do so under stress. Accidental discharge is also a real risk, particularly with pepper spray, which can incapacitate you if used improperly.
The “Smart” Upgrade: Integrated GPS and Recording
Newer self-defense devices integrate GPS and audio/video recording. When activated, they automatically record the incident and send your location to emergency contacts. This evidence capture supports reporting and legal action after an incident.
These devices are more expensive than traditional self-defense tools, but the added functionality can be valuable for students who want both physical deterrence and digital evidence.
Quick Answer: Stun guns and pepper spray are not universally legal on college campuses. Always check your university’s code of conduct and your state’s laws before purchasing any self-defense tool.
Section 5: Location-Sharing Accessories — Passive Monitoring for Peace of Mind
Bluetooth Tags and GPS Trackers for Bags and Keychains
Location-sharing accessories serve a different purpose than panic buttons. Rather than requiring active activation, they provide passive monitoring. Bluetooth tags like those from major tech brands are designed to help you find lost items, but they can also track a bag or keychain. Researching Staying Safe on the Go: The Role of Pepper Spray in Personal Security products emphasizes the importance of choosing gear that fits your daily commute. GPS trackers, on the other hand, use cellular networks and work over much larger distances.
The key distinction is “find my item” versus “find my person.” Bluetooth tags only work when you are nearby, typically within 30 to 100 feet. GPS trackers work anywhere with cellular coverage, making them more useful for monitoring a person’s location over a wider area.
Battery life also differs significantly. Bluetooth tags can last months on a single coin cell battery, while GPS trackers may need charging every few days or weeks depending on usage.
Setting Up a “Buddy System” with Shared Tracking
A buddy system is a simple, effective way to use these devices. Agree with a roommate or RA that you will share your live location for a set time window when walking alone at night. Pre-arrange a check-in time so you both know when to expect confirmation that you arrived safely.
This approach prevents false alarms. If you do not check in by the agreed time, your buddy knows to contact you or campus security. The tracker provides the location data, while the check-in protocol provides the human judgment.
Step-by-Step: Creating a Geofenced Safe Zone with a Tracker
- Install the tracker’s app and create an account.
- Place the tracker in a secure pocket or inside a backpack’s hidden compartment.
- Define a geofence radius around your dorm, library, and frequent class buildings.
- Set alerts for when the tracker leaves the geofence without your phone.
- Test the alert by walking outside the perimeter with both devices.
- Share access with a trusted contact so they can view your location history.
Section 6: Putting It All Together — A Cost-Effective Personal Safety Kit
The Three-Layer Approach: Deter, Alert, Track
The most effective personal safety strategy uses three complementary layers:
- Layer 1: Deterrence — A loud wearable alarm that draws attention and discourages an attacker. This is your first line of defense.
- Layer 2: Alerting — A smartphone app that notifies trusted contacts and emergency services with your location. This ensures help is on the way even if you cannot speak.
- Layer 3: Tracking — A passive GPS tracker or shared location feature that allows contacts to monitor your movement. This provides peace of mind and supports response efforts.
Each layer covers a weakness in the others. The alarm provides immediate local deterrence. The app provides remote notification. The tracker provides ongoing location data.
Budget Tiers for College Students
You do not need to spend a lot to build an effective safety kit. Start with what you can afford and upgrade as your budget allows.
- Under $30: A single keychain alarm plus a free safety app. This covers deterrence and basic alerting.
- $30–$80: A multi-function device with GPS and app integration. This combines deterrence, alerting, and tracking in one device.
- $80+: A smartwatch with an SOS button and cellular fallback. This offers the most comprehensive coverage but requires a higher investment.
Avoiding Common Mistakes
Many students make the same errors when building their safety kit. Avoid these pitfalls:
- Buying devices that require constant charging and get forgotten: A device that is dead when you need it is useless. Choose devices with long battery life or make charging part of your daily routine.
- Over-relying on a single device without a backup plan: Technology fails. Batteries die, apps crash, and signals drop. Always have a manual backup, such as knowing where the nearest emergency phone is.
- Ignoring campus-specific rules on prohibited items: A device that violates campus policy could get you in trouble. Check the rules before you buy.
FAQ
What is the single most effective personal safety device for a college student?
The most effective device is one you actually carry and can activate instantly. A wearable panic button or smart keychain alarm that sends your GPS location to campus security and a trusted contact is widely considered the best all-round choice, as it combines immediate local noise with remote notification.
Are stun guns or pepper spray allowed on college campuses?
No universal rule exists. Many campuses prohibit weapons, including stun guns and pepper spray, while state laws vary. Always check your university’s code of conduct and your state’s statutes before purchasing.
How do safety apps compare to physical devices in an emergency?
Safety apps are superior for remote notification and evidence logging, but they require a charged phone and a data connection. Physical devices work without a phone and can be activated more quickly in a physical struggle. A combination is recommended.
What is the best way to test a safety device without causing a false alarm?
Most devices have a “test mode” or a silent option. For wearables, you can often press and hold the button for a few seconds to trigger a silent test that only sends a notification to your phone. Consult the manual or app for the specific procedure. For apps, use the “drill” or “practice” function if available.
How often should I replace or check my safety device?
Check the battery weekly and the physical condition monthly. Replace the device if the battery no longer holds a charge for at least 24 hours or if the alarm volume drops noticeably. For apps, update them regularly and review permissions every semester.
Conclusion
No single device is perfect. The best personal safety strategy is a layered, practiced, and campus-aware approach that combines a physical alarm, a digital alert system, and passive tracking. Integrate your devices with existing campus resources like escort services, emergency call boxes, and security apps. Research your specific campus policies and test your devices regularly.
Treat safety as a habit, not a purchase. The most expensive gadget in the world is worthless if it is dead, buried in your bag, or you never practiced using it. Build your kit, learn your campus, and make safety part of your daily routine.

